Wednesday, October 15, 2014

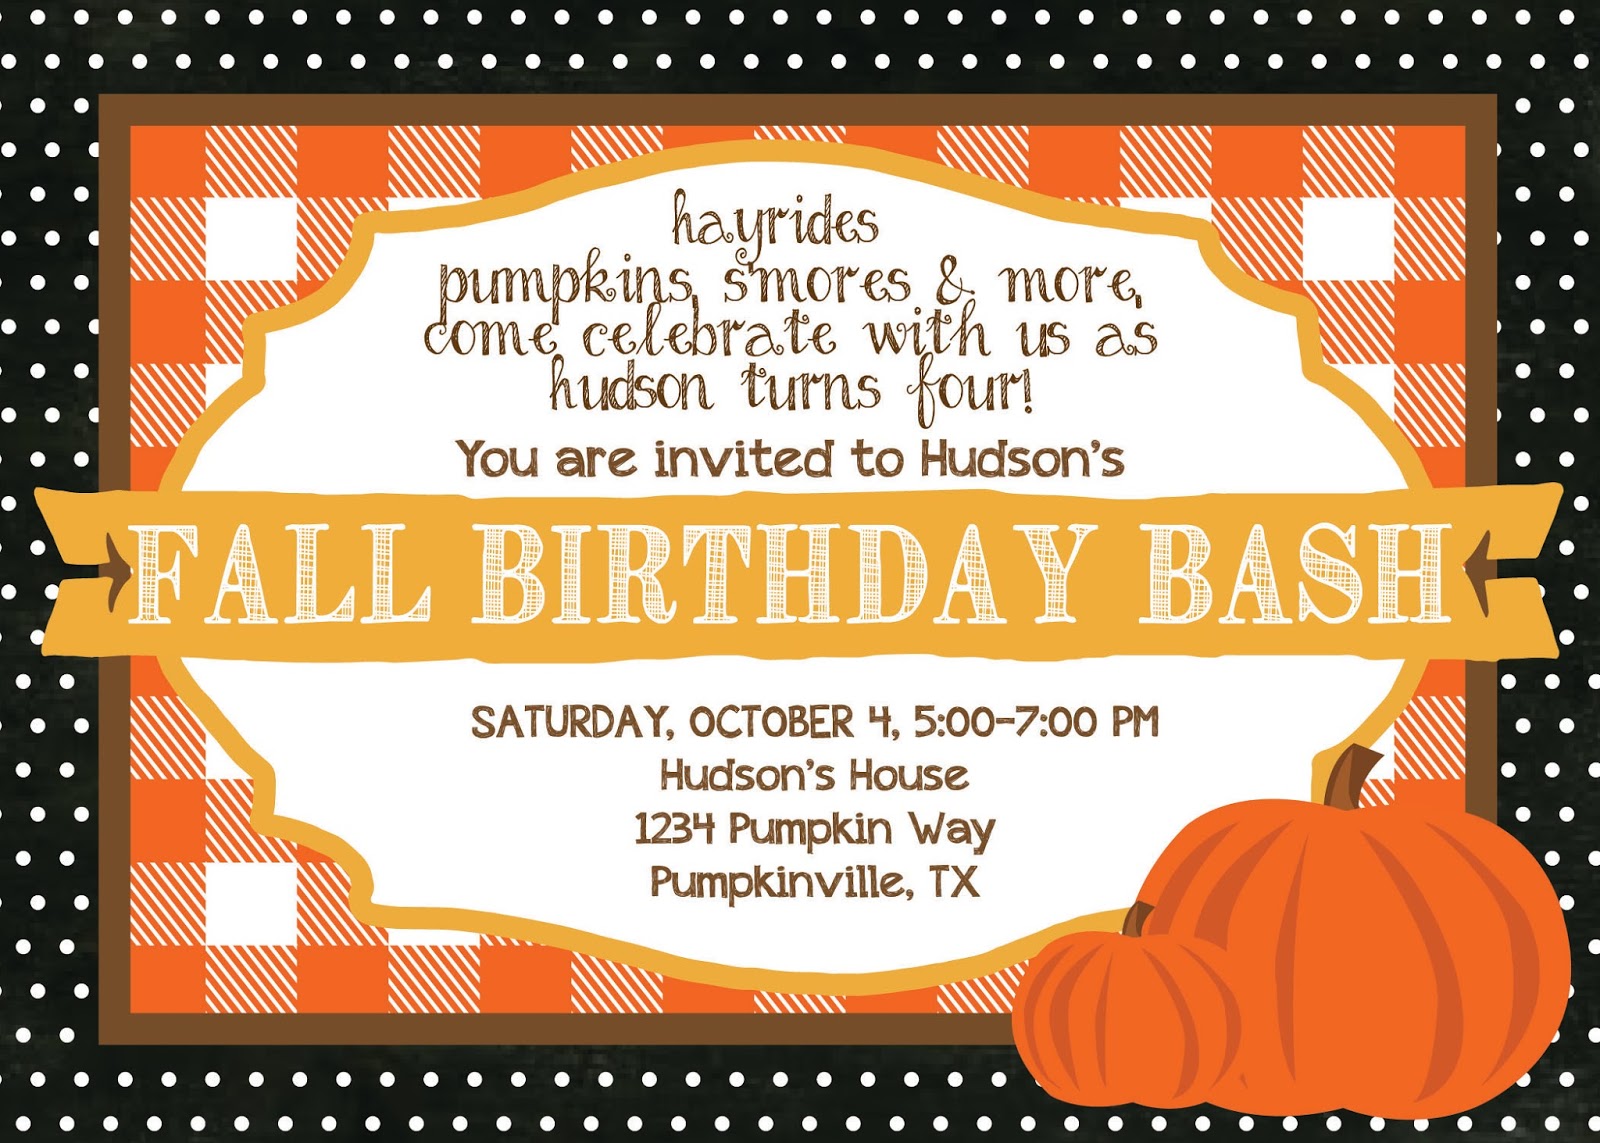
Fall Birthday Bash


HAPPY FALL!!
This is my absolute favorite time of the year! Pumpkins, hayrides, sweaters, football, coffee, birthdays.... Ahhh pure bliss! I thought a fall themed party for my son's 4th birthday would be the perfect start to fall! I don't know who had more fun, the adults or the kids! 

The Invitation:

The invitation is available for purchase in my Etsy shop.

The Decorations


The Menu:
Frito Pies
Hot Dogs
Pumpkin Sugar Cookies
Nectarine pumpkins
Popcorn
Smores


Pumpkin Sugar Cookies:
I found the cookie cutters at Michaels and I used this recipe for the cookies.  I added quite a bit more flour so I could roll out the dough to cut it.  For the royal icing, I used this recipe.  They were a big hit!

Pumpkins:
Ingredients:
Nectarines
Celery
Popcorn:
For this, I just made paper cones out of 12x12 scrapbook paper.  and hung them from a branch that I had my husband cut down.

Activities:
Feed Sack Races


The Hayride

All the kiddos (and Haley)


Wednesday, July 23, 2014

Cowboy Garden Salsa Recipe


I could eat Mexican food for every meal and never get tired of it!  My hubby and I have 2 non-negotiables for a good Mexican restaurant: #1 They must have sweet tea and #2 they must have good salsa! If they don't have either of those things, we're out! When we planted our garden a couple months ago, I picked vegetables that go in salsa so I could make my own.  Today my dad and I whipped up our own version of chunky salsa with a slight kick to it! It turned out so good I had to share!
Here's what you need:

  • 3 jalapenos, chopped, seeded and deveined. If you like a little kick to it, then leave some of the seeds in. Go on, I dare ya!
  • 4 fresh tomatoes, chopped
  • 1 can Muir Glen, Organic fire roasted diced tomatoes. (This is optional, but I think it gives it extra flavor. Plus I like the fire-roasted taste, without having to roast my own tomatoes.)
  • 1/2 large onion, chopped
  • 1 cup cilantro, chopped
  • 2 cloves garlic, minced
  • Juice of 1 lime
  • 2 Tbsp cumin
  • Pinch of sugar
  • Salt and pepper to taste
Mix up all your ingredients in a large bowl and serve! (If you like your salsa to have a smoother consistency, then you can puree it in a food processor.)   


Wednesday, July 2, 2014

TV cabinet re-do


It's funny how technology changes the styles of furniture we have in our houses.  A few years ago, everyone had these big bulky tv cabinets to hold our obnoxiously large box tv's. Now, we can just hang our tv's up on the wall. So when my dad gave me this old Ethan Allen tv armoire, I immediately knew I could turn it into a craft closet for all my supplies!  Let me tell ya, this thing is SOLID! It weighs a ton, which also means it is a good piece of furniture!
Here are the supplies I used:

  1. 1-2 cans Krylon spray paint Primer. 6.49 at Michaels
  2. Elmer's Multi-Purpose Spray Adhesive. 4.99 at Michaels
  3. Americana Decor Chalk Paint in Everlasting. 8.99 at Michaels
  4. Americana Decor Creme Wax in Clear. 11.99 at Michaels
  5. 3 packages Everbilt 2 in. x 1-3/8 in oil-rubbed bronze decorative hinges. 3.27/pkg of 2 at Home Depot. After 2 trips to Home Depot getting the wrong kind of hinges, I landed on these. I love how they look on the outside of the furniture.
  6. Pewter Owl Knob. 5.99 at Hobby Lobby. 
  7. Approximately 1 yard of fabric of your choice. I got mine at Hobby Lobby.
  8. Plywood, cut to size for your shelves and 1x2's if needed to place the shelves on.

  • First, I completely gutted the inside, taking out all of the hardware and the nifty swivel stand the TV went on.
  • Remove the back and cover with fabric. Cut your fabric to match the size of the backing and spray the backing with spray adhesive. Staple the edges to make sure it stays secure.  Set aside.
  • Spray the entire piece with primer.  This is not necessary with chalk paint, but it does save a lot of time.
  • Apply 2 coats of chalk paint, inside and out and let dry.
  • SAND SAND SAND until your arm hurts! I like the wood underneath showing through, so I sanded the heck out this baby! I wanted it to look like an old, worn out piece of furniture, not like I looked lazy and only did 1 coat of paint, know what I mean?
  • Apply the wax with a brush, coating the entire piece. Take a cloth and buff it out.
  • Attach the back with fabric by screwing into the back with the existing screws.
  • Finally attach 1x2's to the sides with screws. Mine came with them, but I moved them around to fit my containers. Place the plywood on the 1x2's.


And here's the final product:


I'm in love with how it turned out! I've been waiting for just the right spot to put this old window pane and I think it goes perfect on top of this piece! 


Tuesday, May 27, 2014

Fun DIY Flip Flops to Kick off Summer!


The last day of school was last week so it is starting to feel like summer! But nothing makes it feel more like summer than getting a brand new pair of flip flops.  I decided to spruce up my plain Old Navy flip flops with some bling. Because everyone knows us Texas girls like some bling, right?

Here's what you need:

Swarovski Elements Crystals (approx. 4mm in size)
I got these at Michaels, but they also have them at Hobby Lobby. Make sure they are Swarovski. They cost a little bit more but it is so worth it! They are so much more sparkly, especially when the sun shines on them.  You will need about 4 packages. They are about $5 a package, but you can get them cheaper if you use a coupon. I had a 25% off coupon at Michaels so they only cost me about $15 total. 


A pair of plain black flip flops
I used a pair of black Old Navy flip flops that I picked up for $2.50


E-6000 Glue
You can get this at Michaels or Hobby Lobby.  This is the only glue I recommend because once you glue it, its permanent. Just make sure to do it in a well ventilated area unless you want to get a little loopy because there all all kinds of crazy warnings on the tube.  If you have a 3 year old like me, maybe you want to get a little loopy. Anyways, I recommend doing this outside.

To make them, just take a small brush and paint some glue on the flip flops (a little at a time) where you are going to place the crystals. Do 2 at a time with about 30 crystals on each strap. (120 total). Let dry before wearing them!
The whole project cost about $20!

Thursday, May 22, 2014

Lone Ranger Birthday Party


Is it just me or does anyone else LOVE birthdays? Growing up, my parents always made it such a huge deal whenever me or my sister had a birthday.  We would come home from school and there would be balloons and party decorations everywhere and then we would get to go out for a big birthday dinner and come home and open presents.  I guess that's why I go a little overboard for birthday parties.  My hubby kept telling me to remember it's just a 6 six year old birthday party! I can't help it, its fun!

The birthday boy all dressed up!


My son was dead set on having a LEGO themed Lone Ranger party, but when I saw this vintage 1954 Lone Ranger lunch box, I decided to go the vintage route. Plus, he loves watching the old Lone Ranger westerns with his daddy so I figured he would like this just as well.


We borrowed a western backdrop from our church and set it up for a photobooth in the backyard. The kids had a blast dressing up and taking pictures.  They are such hams!


Root Beer Floats

Rice Krispie Hay Stacks


Water Balloon Shoot-out

Free Printables:

Goody bags (fold and staple to top of 4x6 clear plastic bag)
Happy Birthday Banner
Bubble Refill Station sign
Loot Sign (for gift table)
Horse Parking sign
Waterin Hole sign